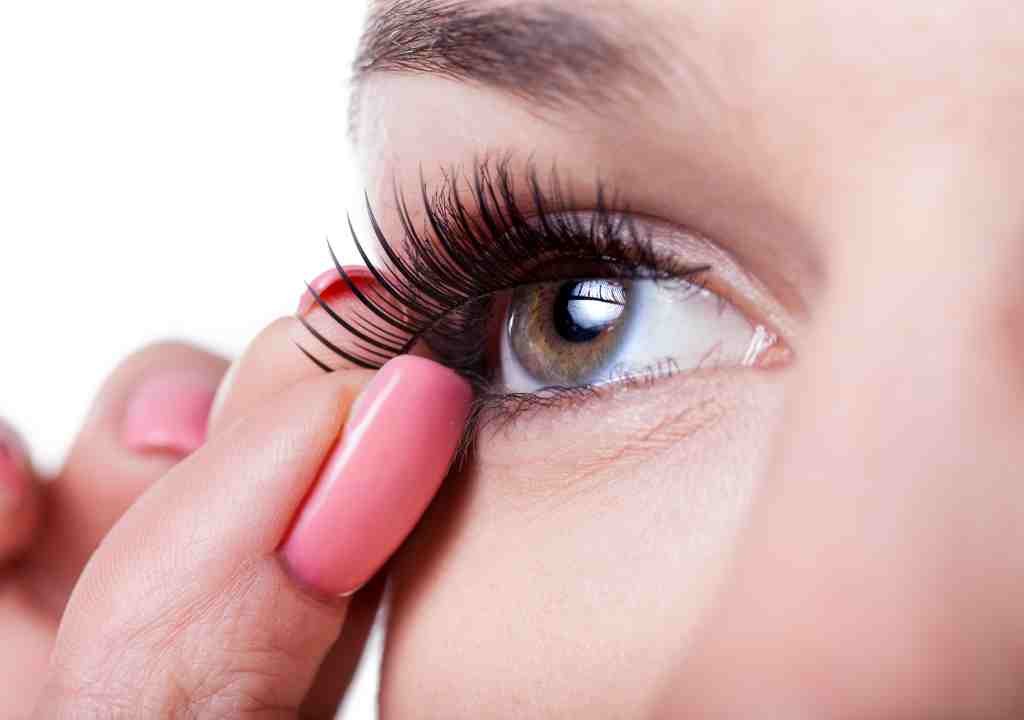
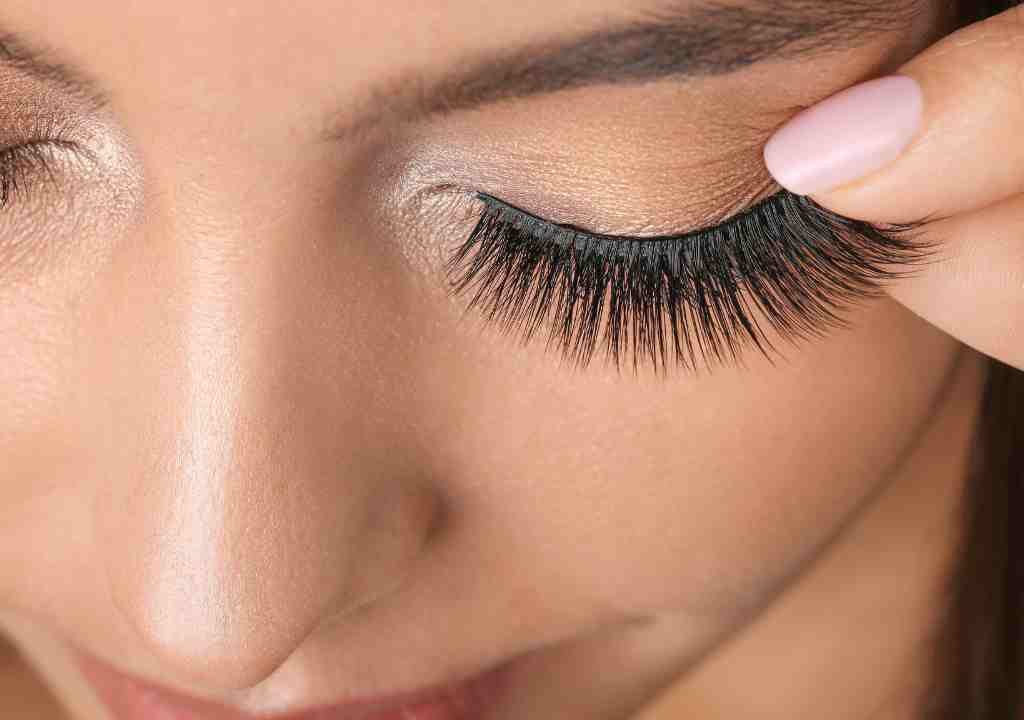
Hello and welcome to your personal eyelash tutorial! Today, I’m thrilled to share a step-by-step guide on how to put on fake lashes for beginners. Forget about those unruly brows for now; our focus today is on achieving luscious, fluttery lashes that will elevate your entire look. Between, you can also read our previous article about How to lighten Eyebrows with Bleach at Home easily in 1 minute?
How to Put on Fake Lashes for Beginners – Step-by-Step Tutorial
Table of Contents
Overcoming Limitations:
Sometimes, we find it very difficult and challenging while applying false lashes, especially when hindered by our own limitations that’s because of our vision issues. Therefore, we find it challenging while applying lashes without glasses.. But hey, challenges are meant to be overcome, right?
Gather Your Tools:
For this how to put on false eyelashes for beginners tutorial, we will gather tools like, flawless fake lashes, Mirror, Tweezer and Glue. The first step in this lash adventure is preparing a clean mirror for a magnifying view. Recognizing the importance of overcoming vision challenges, especially during lash application, magnifying mirrors take center stage as indispensable tools. These mirrors play a pivotal role in ensuring precision and ease for everyone, irrespective of their vision conditions.
The lashes we’ll be using are from I Envy – a perfect blend of drama and elegance. Unfortunately, I don’t have the packaging anymore, but it comes in a distinctive burgundy box. Paired with my favorite eyelash glue, which I’ll display on the screen for you, these lashes are sure to stay on all day. Trust me; this glue is a game-changer – no need for alternatives like Duo or Kiss.
Lash Glue Dilemma:
The next hurdle – lash glue. How much is too much? Fear not; the key is to apply a sufficient amount and evenly distribute it over the lash band. Pro tip: avoid blowing on your lashes, it’s unsanitary and could lead to a sticky situation.
Understand the Lash Placement
Lashes are designed to sit from left to right in the pack, so pay attention to the packaging. Hold the lash at the shorter end for the inner corner and the longer end for the outer corner. Understanding this placement is key to achieving a natural and symmetrical look.
Choosing the Right Lashes:
Now, the dilemma of figuring out which lash goes on which eye. For cat-eye lashes, the front is shorter than the back. We can grasp the technique of using a regular tweezer to hold the lash, making it easier to distinguish between left and right.
Application Process:

With a deep breath and focus, Geraldine takes on the challenge. We learn that patience is key as she waits for the glue to dry. The struggle is real, but with perseverance, she places the lashes perfectly.
Position and Press
The Inner Corner Feeling the stickiness, position the middle of the lash on the middle of your lash line for the inner corner. Press it in, working in sections. Hold the back piece for five seconds, ensuring a secure fit.
Position and Press
The Outer Corner Moving on to the trickier part – the outer corner. Take your time to position the lash the way you want it. Hold the front piece for another five seconds. Remember, precision is key, but don’t be intimidated – practice makes perfect.
The Inner vs. Outer Battle:
As the session progresses, we uncover the importance of pushing the inner corner first before tackling the outer corner. A crucial tip that ensures a comfortable and irritation-free wear.
Fixing Imperfections
If your lash lifts or seems uneven, don’t panic. Simply press it back into place with the glue. It won’t be perfect every time, and that’s perfectly okay. For any stray glue, wait until it dries, then easily wipe or scrape it off.
Repeat the Process for the Second Lash
Now that we have applied lashes on one side, for the second lash, repeat the entire process again, ensuring both lashes are symmetrical. Take your time to perfect the placement, and don’t rush. Once they’re both on, use a fan or sit in front of Air Conditioner to let them dry completely.
And there you have it – a successful journey into the realm of how to put on fake lashes for beginners. Remember, if I can do it, so can you! Feel free to leave your questions or comments below, and until next time. Happy lashing!


